master
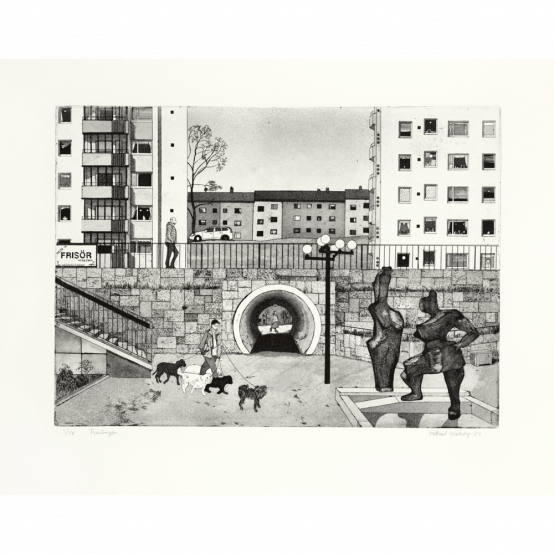
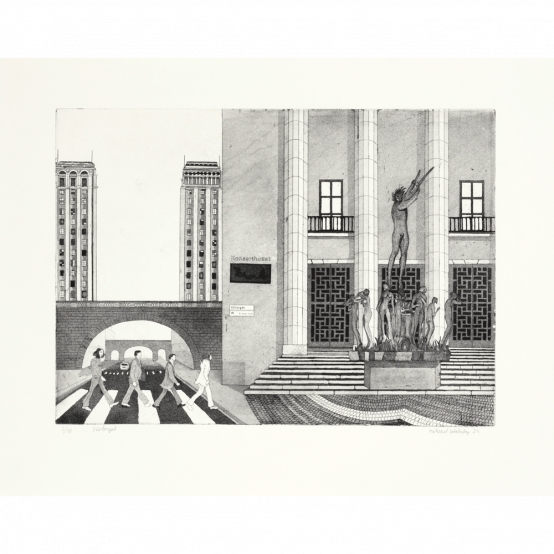
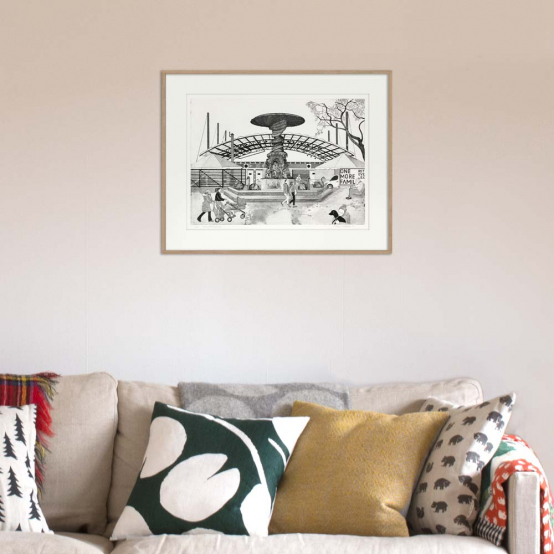
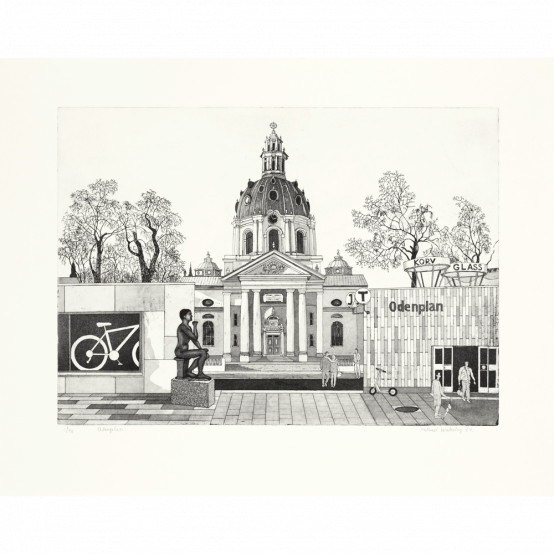
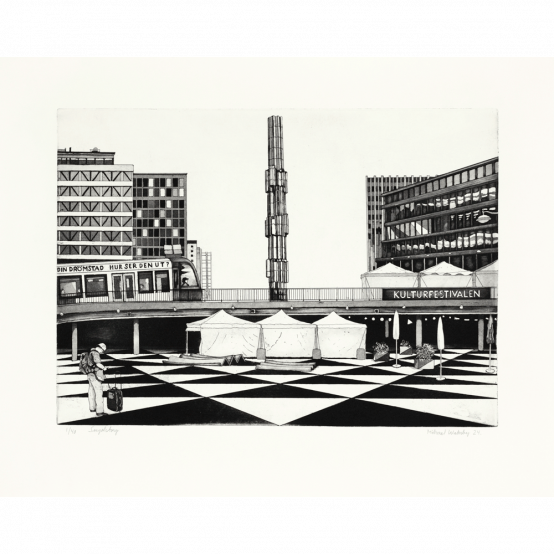
Finally a new series of Mikael Wahrby's popular Stockholm etchings! Fruängen, Odenplan, Sergels torg, Kungsträdgården and Hötorget are the five spots that Mikael Wahrby depicts in his new etchings. Until 2018, Wahrby had mostly depicted interiors and still lifes, but that year he made his first series of etchings with Stockholm motifs, exhibited at Liljevalch's Spring Salon. Since then, several have followed and this is his fifth series.
The Stockholm pictures are, just like Wahrby's other pictures, frozen moments - still life in the true sense of the word. Mikael Wahrby is a low-key and careful observer, he notices quirky details which he takes the liberty of highlighting. If we look closely, we will notice that we are not dealing with any exact depictions of the places that Stockholmers know so well; Mikael Wahrby has interpreted them with his palette of printing ink so that they appear before us in a completely new, yet familiar way.
Find all previous Stockholm etchings here
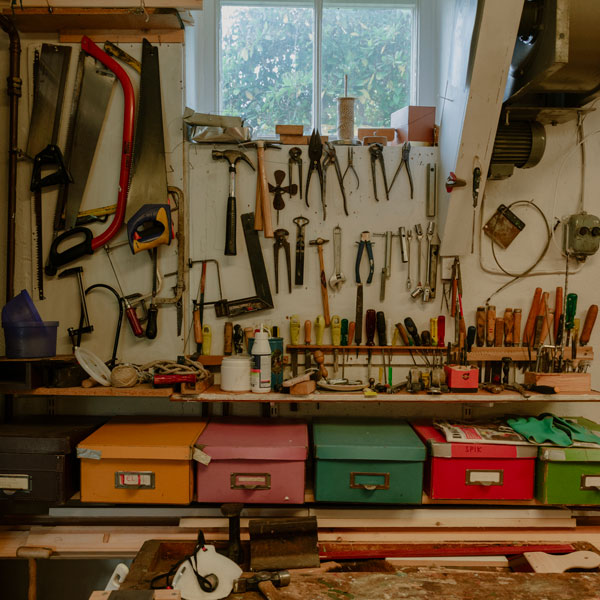
Before this year's release, we got to visit Mikael Wahrby's workshop in Mälarhöjden outside Stockholm to try to understand the complicated and time-consuming process behind his images. The outcome of the visit was a video that tries to explain how an aquatint etching is made, as well as a number of images that capture Mikael Wahrby's working method, that you’ll find below.
View all artworks by Mikael Wahrby
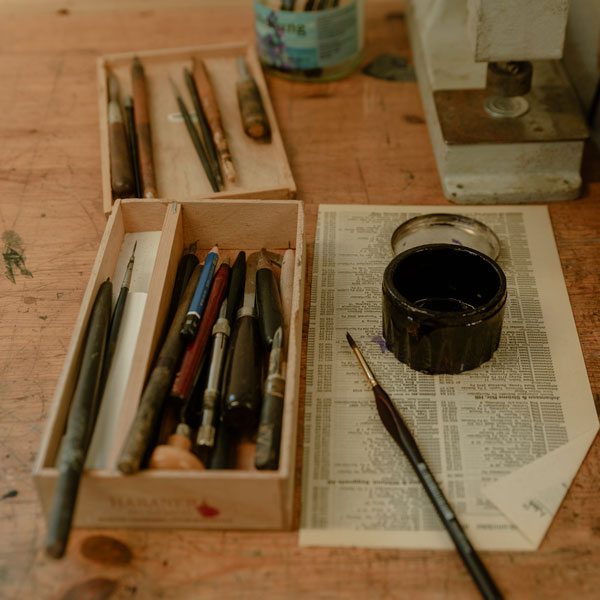
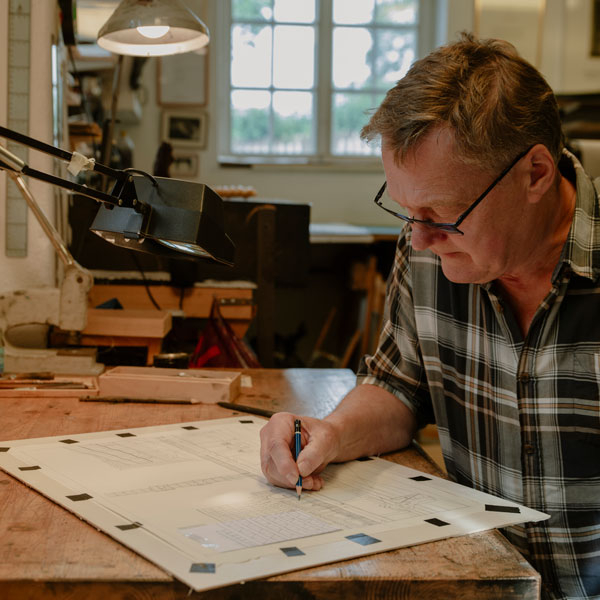 Mikael Wahrby always starts by sketching on paper with a pencil
 A ground consisting of - among other ingredients asphalt and resin - is melted over the copper plate that has been heated for the purpose
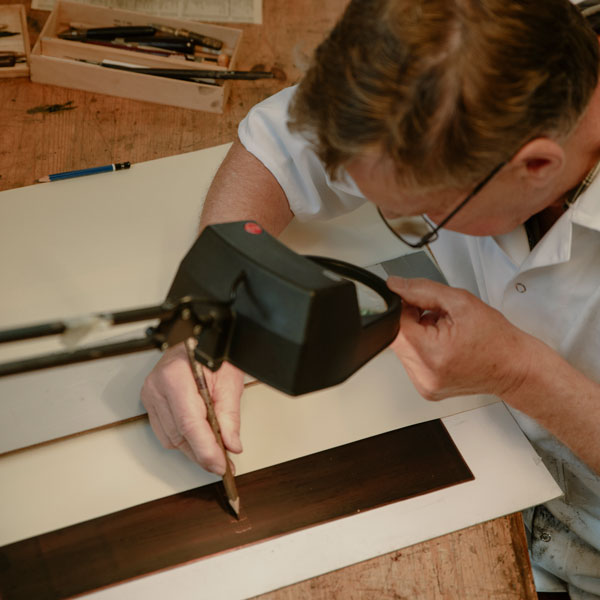 The sketch is transferred to the plate with the help of mylar film and then the lines are reinforced so that they go through the ground, down to the copper
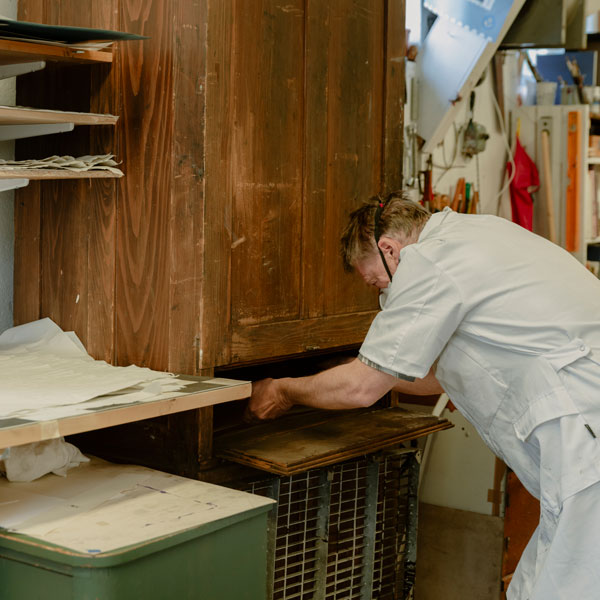
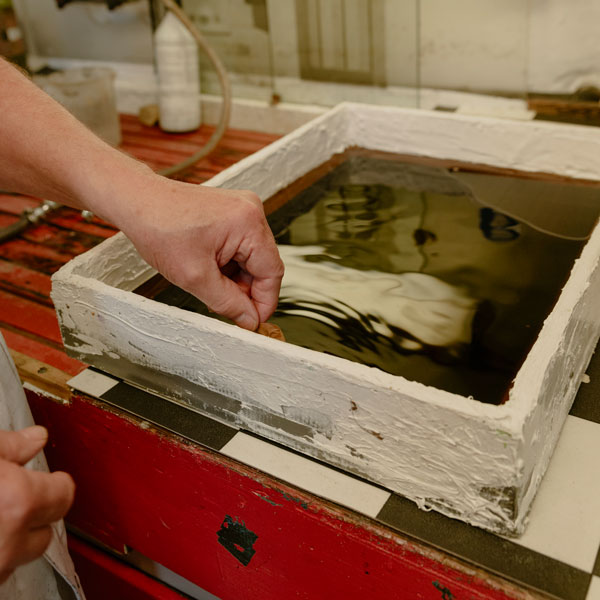 The copper plate is then lowered into the etching bath which only bites the clean copper surfaces, i.e. the lines that have been exposed. The rest of the plate is protected by the ground.
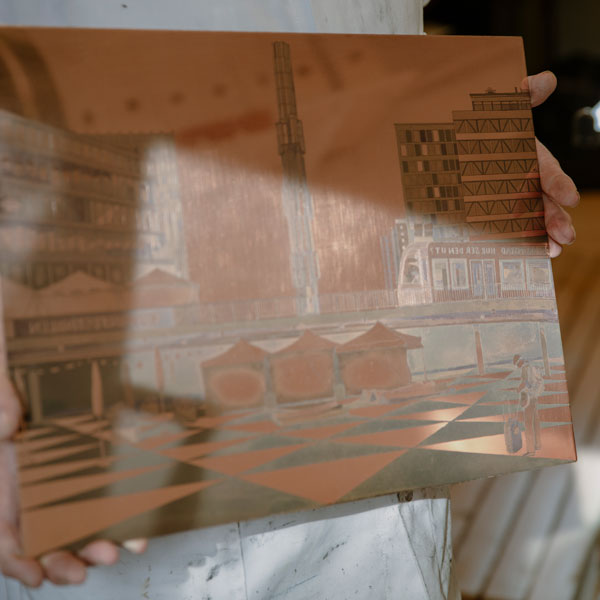
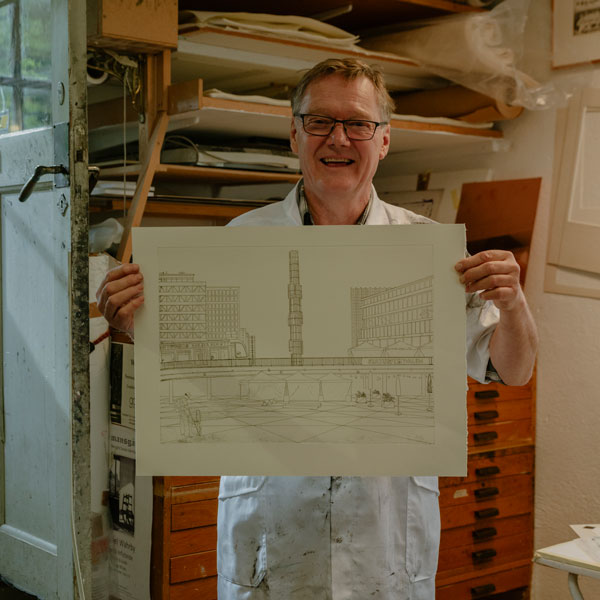 Mikael Wahrby holds up the test print he made after the lines were etched
 Now it's time to create the gray tones in the image using aquatint. The plate is thoroughly cleaned and placed in the aquatint cabinet where it is coated with a thin layer of asphalt powder
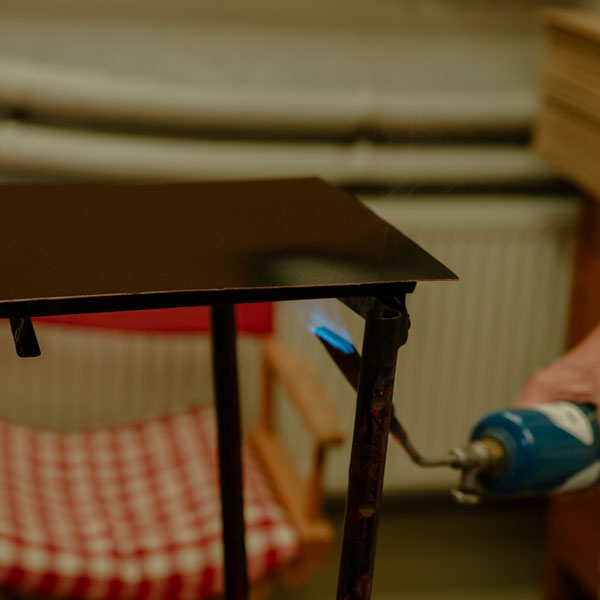 The powder is burned into the plate so that it lies still
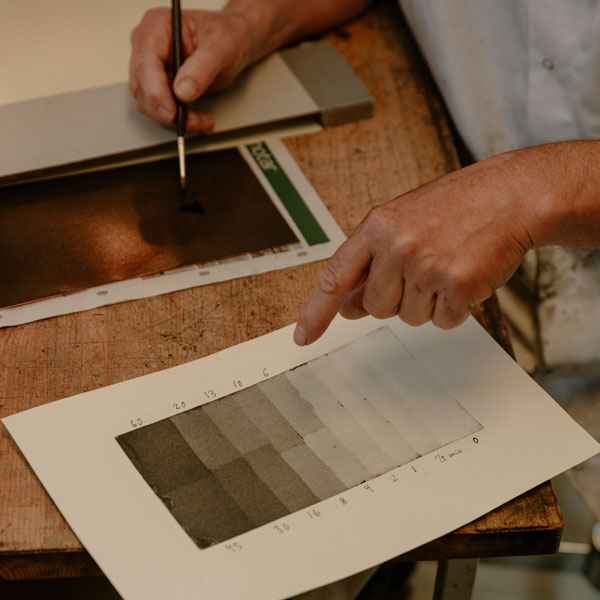 The plate is then etched in different steps, for different lengths of time, depending on how deep a black tone the artist wants. The longer the aquatint surfaces are etched, the more ink will adhere, the darker the parts will be
 After a lot of tossing and turning, the plate is finished
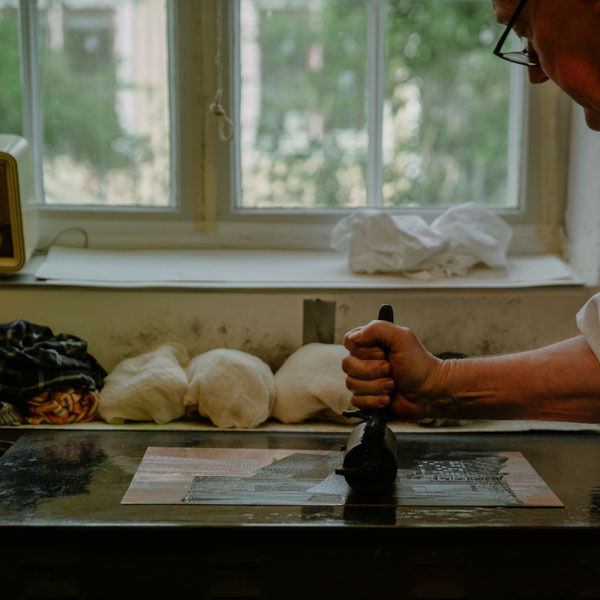
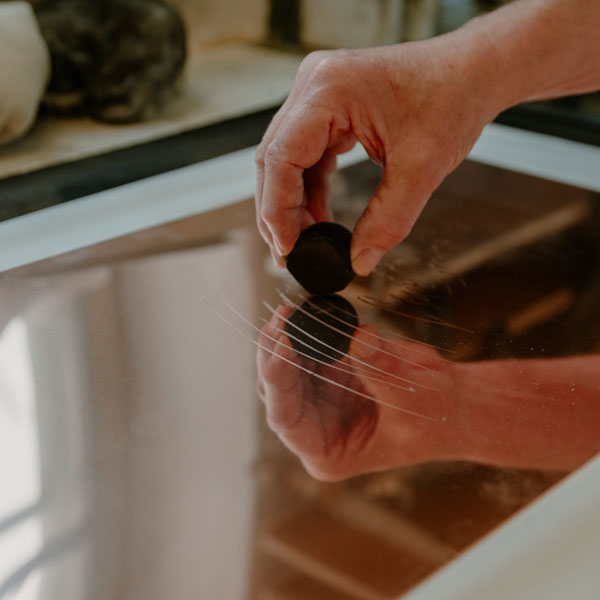
 Mikael Wahrby applies printing ink, then wipes off all the excess – the ink should stick only to the etched parts that have become indentations in the plate
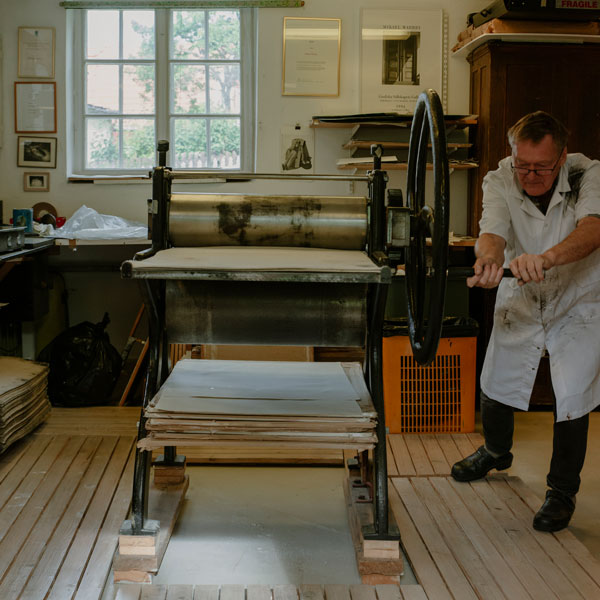 Moistened paper is placed on the plate and then run through a printing press
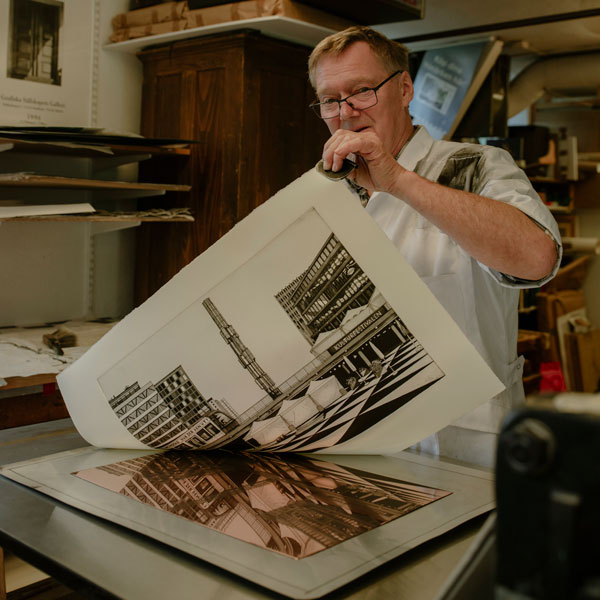 One copy is ready, now it just needs to dry for a couple of days